| DIY Difficulty Level |
| Easy |
| Navigate: Main_Page ...Do It Yourself ...Rside Advanced Short Shifter Install
Overview • Models and Years • Tools Needed • Instructions • Similar Pages • External Links |
Overview[]
| Models and Years: |
|
Okay guys, I went overboard on this one but didn't want to miss anything as several folks seem to screw up the arrangement of the washers and such. This DIY is mostly pictures, I think it'll save some typing and some questions. Sorry for the quality of some of the pictures guys, I can't seem to find out what combo of flash and focus works with my Digital Cam up close.
Tools[]
- 14 MM Ratchet/Socket combo
- 17 MM Combination Wrench
- 1 Pair of Needle Nose Pliars
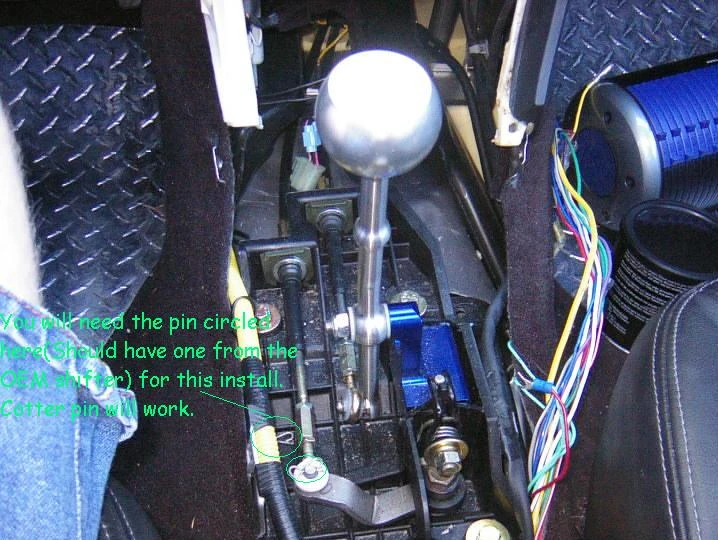
- 1 Cotter Pin if you have a B&M and are converting and don't have your OEM Pin.
- Some plastic friendly Grease. I suggest Lithium grease, I used the red kind.
- Paper Towels
Instructions[]
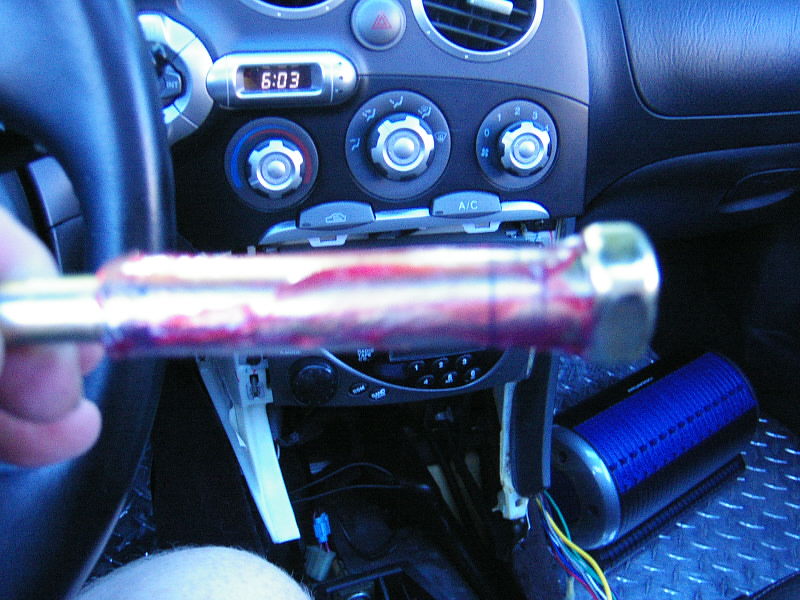
1. First, take off the shifter surround and to make it easier, take the 3 minutes to take out the console. Mine was allready off.
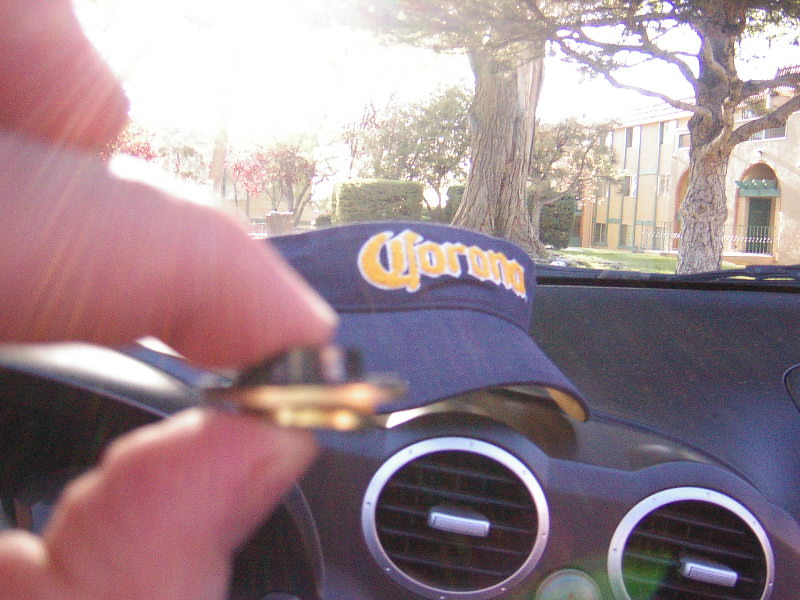
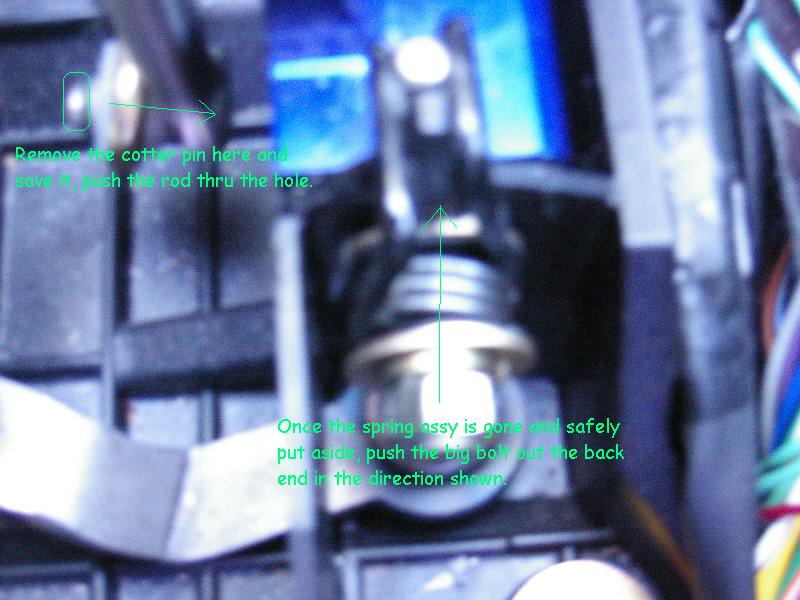
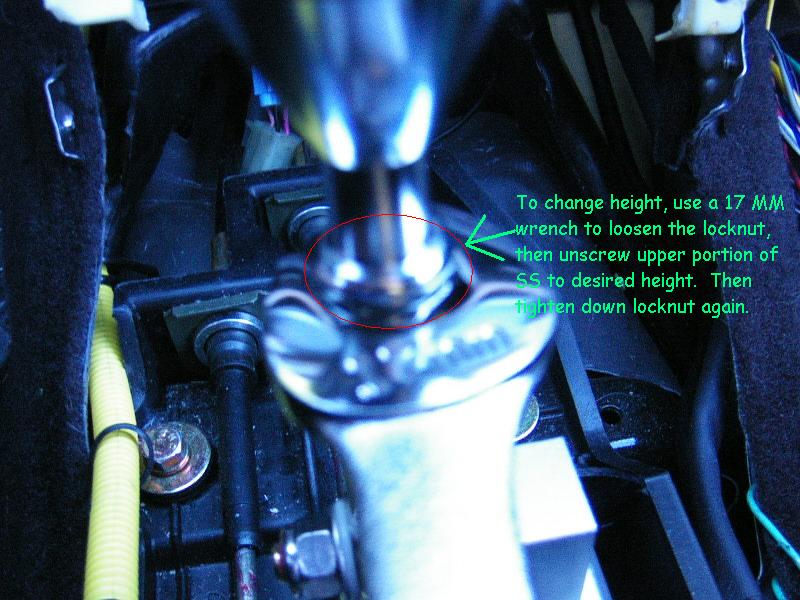
2. 
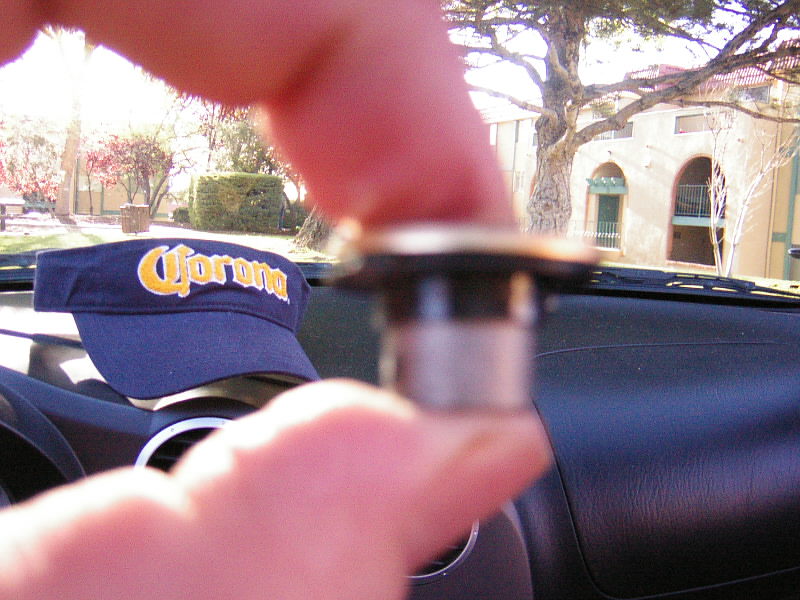
3. 
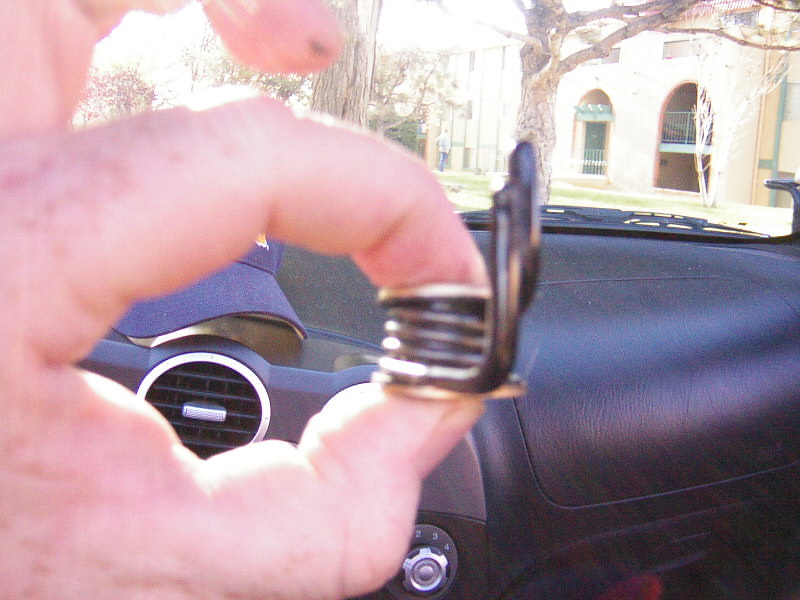
4. 
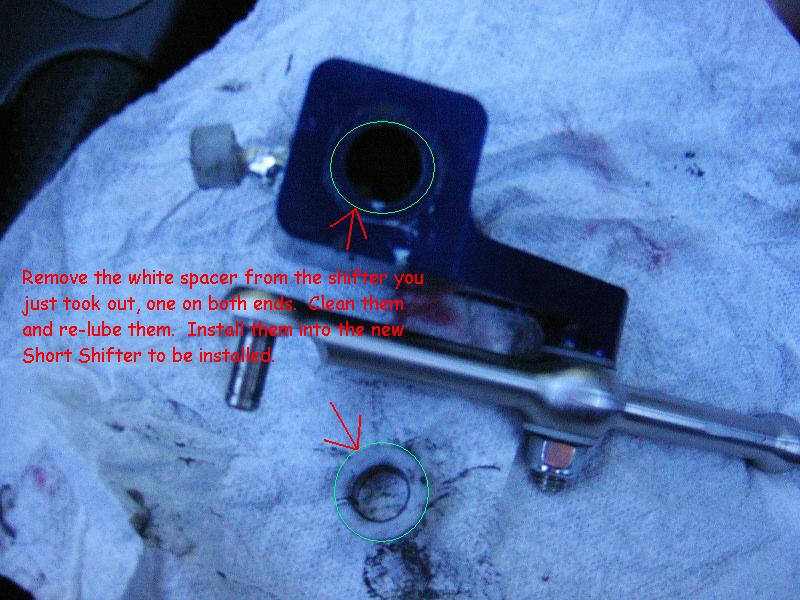
5. This is what the first portion of the Washer assy looks like when taken off. Lock washer on the bottom, then washer/spacer assy.
6. This is the other side of the same assy with the tubular spacer in the center.
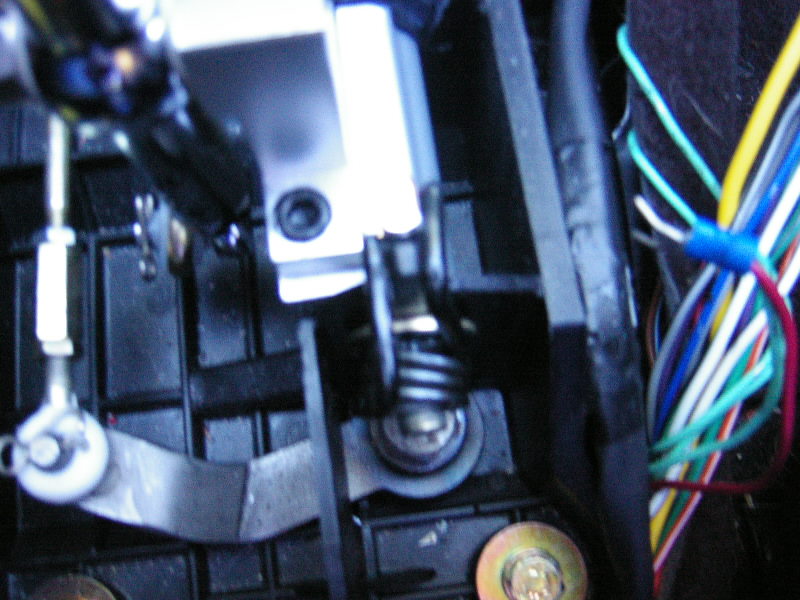
7. This is what the entire assy should look like assembled, with spring
8. 
9. Lubing the bolt...
10. 
11. Lubed up spacers and other moving parts.

12.
13. Re Assembly of washer/spring assy after install.

14. Re Assembly of washer/spring assy after install.
15. Re Assembly of washer/spring assy after install.

16. 
17. Shifter at it's Highest.

18. Shifter at it's lowest.

19. 
External Links[]
|
If you want to add personal links, please do that on your user page (you can also write your profile there). If you have a link with great content that are needed, you can add it at here. |