| DIY Difficulty Level |
| Moderate |
| Navigate: Main_Page ...Do It Yourself ...Changing Struts
Overview • Models and Years • Tools Needed • Instructions • Similar Pages • External Links |
Overview
| Models and Years: |
|
You can use this guide for either replacing your struts, or installing aftermarket ones.
Tools
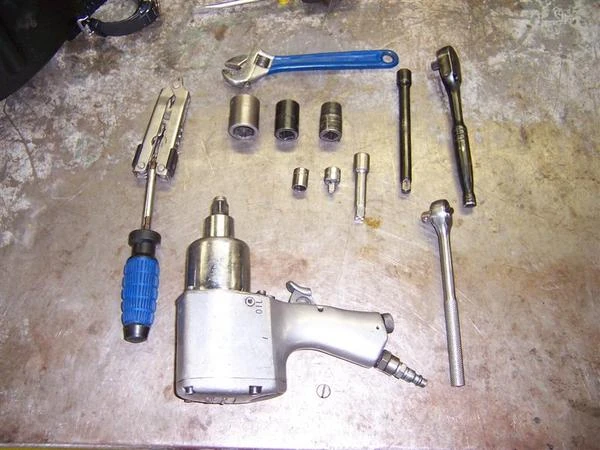
- ratchet set
- philips screw driver
- adjustable wrench
- pliers
- impact wrench recommended
- Corona w/lime (not pictured)
Instructions
Removing the rear strut
- Remove storage net and rear hatch cover
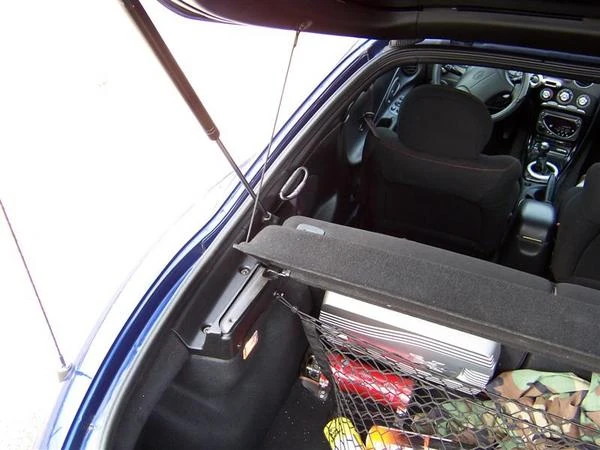
- Remove 5 philips screws securing rear strut cover trim
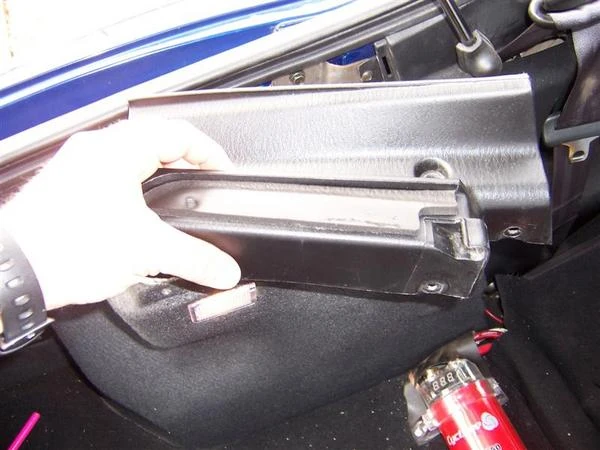
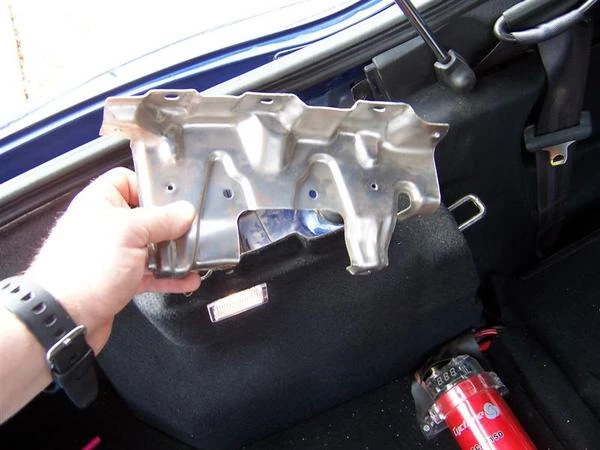
- Remove 2 philips screws and 3 10mm bolts securing strut cover

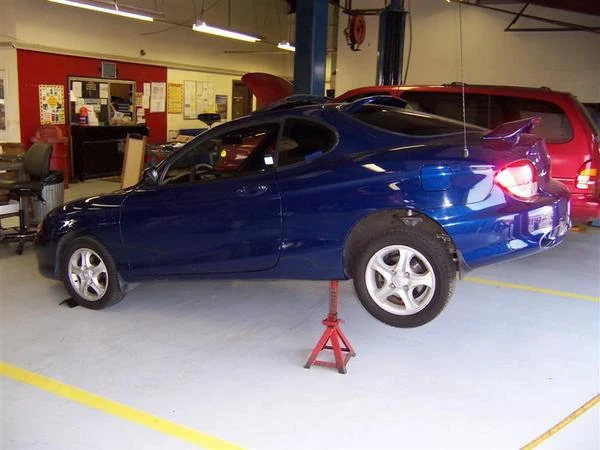
- Jack up your car
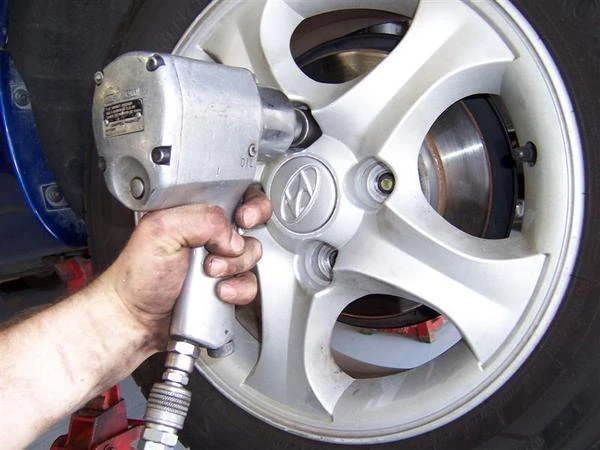
- Remove 4 13/16 lug nuts
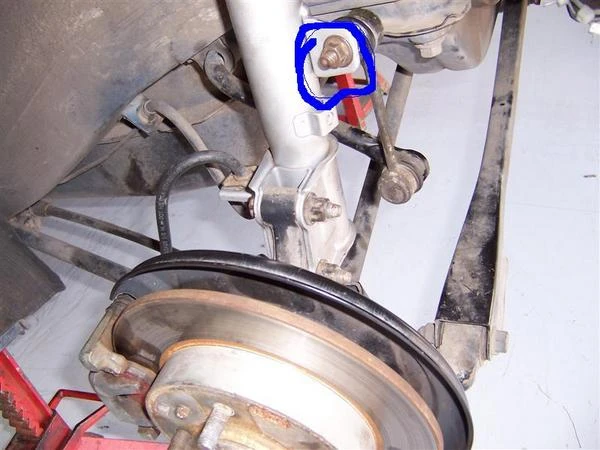
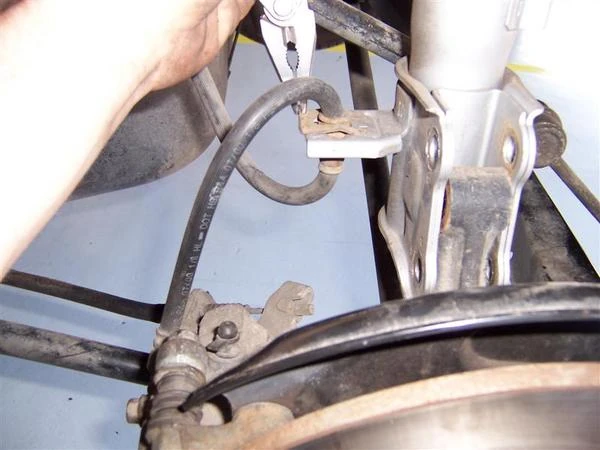
- Remove 1 14mm nut from sway bar ball joint
- Note: If nut will not turn at first, use a crescent wrench or needle nose vice grips on the back side of the joint, at the end of the boot.
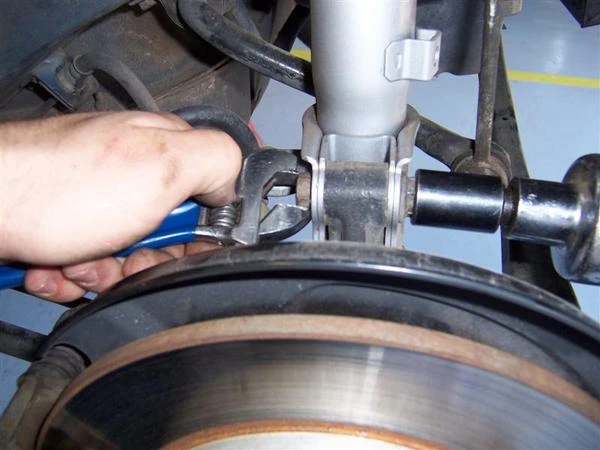
- Loosten 2 17mm nuts from bolts.
- Using a pair of pliers, remove the retainer clip from the brake line and move brake line out of the way.
- Remove 2 bolts from bottom of strut and allow to hang.
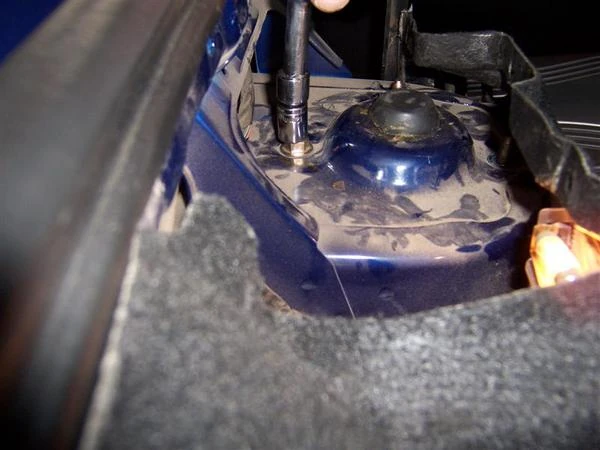
- Remove 3 12mm or 14mm nuts from the top of the strut.
- Remove strut from car.
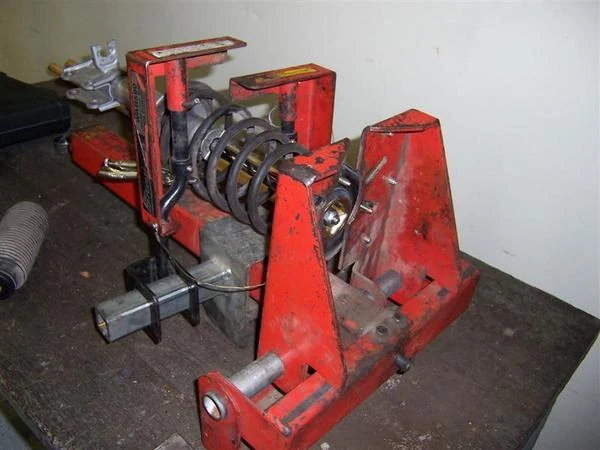
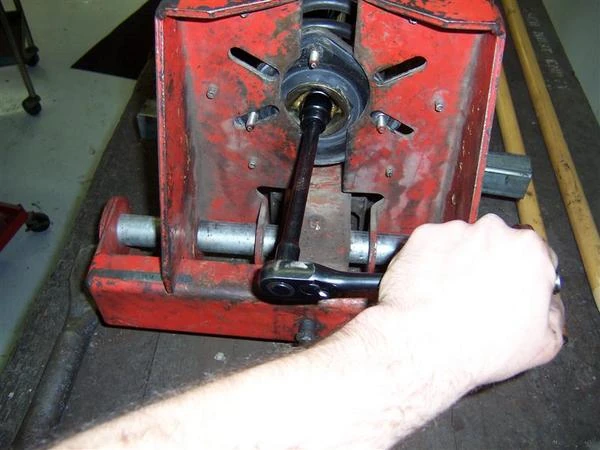
- Place strut in spring compressor and compress spring.
- Remove 17mm bolt from top of spring.
- Note: Basically, here in the next steps you should make the new one look just like the old one did, just newer.
- Slide strut out from spring.
- Place rubber portion and dust boot from old strut assy onto new strut assy.
- Place new strut in spring/upper strut assy.
- Ratchet new nut on top of new strut.
- Decompress strut.
- Note: Ensure that the rubber portion of the upper strut assy lines up with the metal portion and that the spring lines up with the rubber portion. Everything should fit tightly and but up against edges.
Replace rear strut
- replace strut
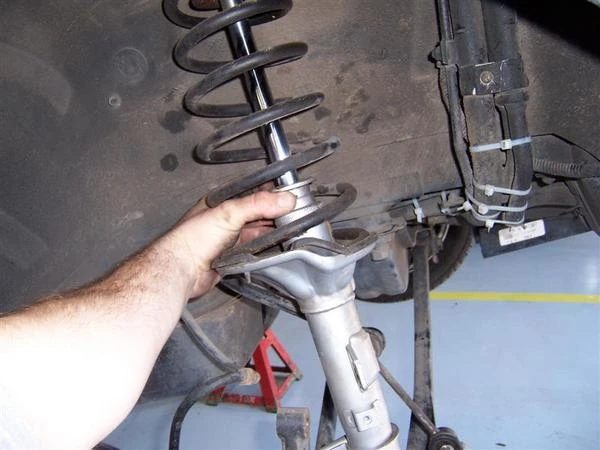

Installation is the reverse of removal
External Links
- Forum topic at rdtiburon.com
|
If you want to add personal links, please do that on your user page (you can also write your profile there). If you have a link with great content that are needed, you can add it at Changing Struts#External Links |